

There is nothing like the freedom of the open road. Whether you ride on twisty mountain roads, slicing through desert interstates, or cruising inner-city roads, every ride has a story to be told by recording your rides. With the right motorcycle camera gear, you can capture every mile, every curve, and every moment of that story. From recreating your most scenic routes to validating your claims with video evidence, a good motorcycle camera setup is one of the best investments any motorcyclist can make.
Here’s everything you'll need – from choosing the best action cameras for bikers, GoPro vs Insta360 showdown, to choosing the most suitable helmet cam mounts and building a full moto vlogging equipment set.
A properly mounted motorcycle camera is more than just great video. It's safety, creativity, and camaraderie.
A mounted camera also doubles as a dashcam, recording helpful video in the event of an accident or altercation. Clear images can protect you legally and financially if something goes wrong.
Recording your rides allows you to relive the highlights of your travels later. It may be a hill ride or a coastal road by the sea, and this kind of video is a memory that one would treasure for a lifetime.
A proper setup for moto vloggers means good quality videos, trouble-free shooting, and acceptable audio. It is a chance to share experiences and reach an even larger fraternity of riders.
Reviewing your video can enable you to critique your riding skills, improve cornering, and adopt safer road driving habits. Every motorcyclist enthusiast deserves a bespoke motorcycle camera setup, whether you're capturing daily commuting to and from the office or cross-country trips.
In creating the ideal setup is understanding each element and how they contribute to the whole. Here's what you'll require:
All these elements come together to make your motorcycle camera system ready for adventure, secure, and trustworthy.
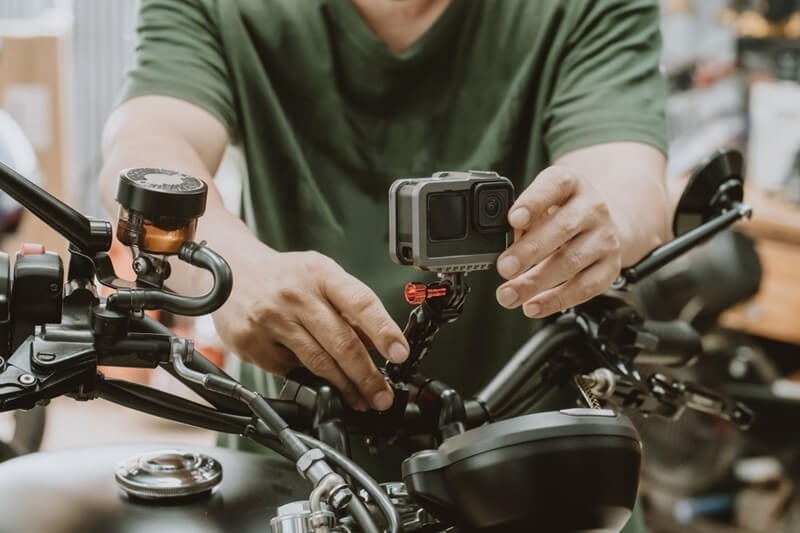
Your mounting option equals your video quality and safety. Let's talk about the most popular helmet cam mounts and additional mounting options.
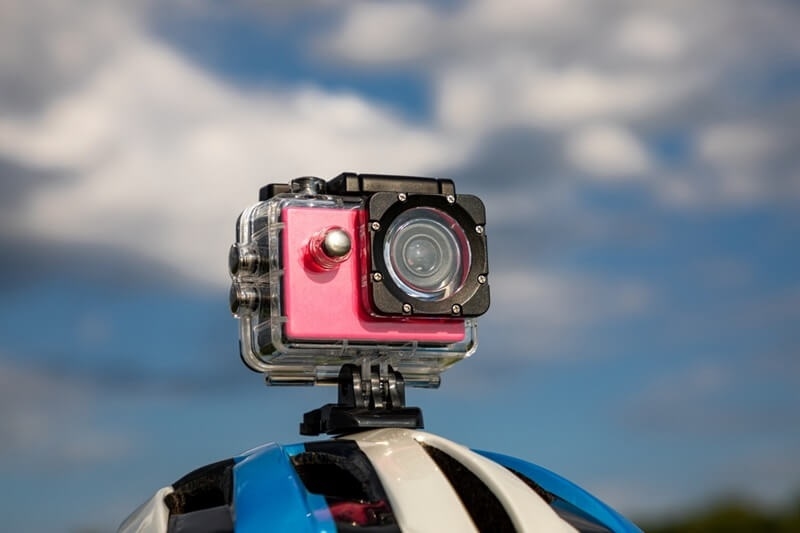
Mounting the camera on your helmet, specifically the chin area, gives a rider's perspective. It captures what you see, offering a natural and immersive viewing experience.
Pros:
Cons:
If narration and personal commentary are your areas of interest, helmet mounts should be your first choice in a motorcycle camera setup.
Handlebar or mirror mounts provide a forward-looking, road-dominant view. They are also easy to install and maintain.
Advantages:
Disadvantages:
Handlebar mounts are a favorite for most cyclists as they use it as part of a two-camera rig for shooting wider coverage.
Chest mounts shoot at a lower angle, with your controls and hands in the shot. Tank mounts provide a cinematic shot from the middle of your bike.
Advantages:
Disadvantages:
For vloggers, a mix of helmet and tank shots creates diverse, interesting content.
Mounting a rear camera or using a 360 setup provides a complete record of your surroundings. It’s perfect for documenting overtakes, group rides, and close calls.
Action cameras have come a long way in durability, stabilization, and clarity. When choosing the best action cameras for cyclists, reliability, image quality, and glove usability come first.
Some of the key features to look for:
Cameras like the GoPro Hero series and Insta360 Ace Pro are favorites among riders as they balance quality, ruggedness, and artistic control. The decision will largely come down to what you plan to do with your video — cinematic output or simple documentation.
As you're building your motorcycle camera rig, the Insta360 vs GoPro decision is one you'll be making frequently.
Many U.S. riders even combine them — using a GoPro on the helmet and an Insta360 on the rear for complete coverage.
If you’re planning to share your adventures online, a thoughtful moto vlogging gear setup ensures professional results. Your goal should be to balance camera placement, audio clarity, and safety.
Wind noise is the curse of every motorcyclist's life. The answer is to stick a microphone jammed in your helmet with some foam windscreen. You can also shove a lavalier mic through your padding. Good audio adds personality and emotion to your Moto Vlogs.
For daytime shooting, use ND filters to control brightness and avoid overexposure. Shoot in 4K resolution or higher at a bare minimum of 60 frames per second for smooth playback. For nighttime, adjust ISO levels or use HDR modes for detail retention in low light.
Use shorter recording loops (5–10 minutes each) so that if corrupted, you will lose less large files. Back up your videos overnight. Premiere Pro, DaVinci Resolve, or GoPro Quik editing software makes cutting, color-grading, and stitching clips easy.
The stability and quality of your recordings will be greatly enhanced with some simple tweaks.
Through daily use and maintenance, your motorcycle camera rig will become a second nature — a part of your gear like any other.
Even veteran riders get it wrong when mounting their gear. Some of the most common errors to watch out for are:
Go GoPro vs Insta360, believe in rugged helmet cam mounts, or splurge on a complete moto vlogging gear package – it's all about building a system that's dialed in to how you ride.
Be patient, play with angles, and get your gear dialed. Hitting the record prior to each ride will become second nature, much like putting on your helmet before you can say, "what's next." So go out into the great beyond, roll the camera — and capture hours of your adventure.
This content was created by AI